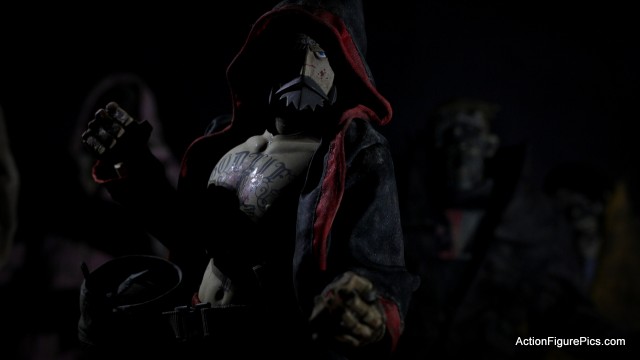
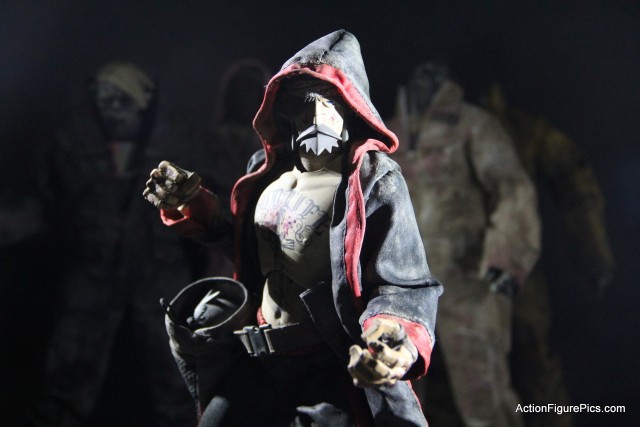
The Fighting JC in 1/6 scale from the 3A Toys Adventure Kartel line was one of my most wanted figures. I was able to pick one up from a fellow collector on the Unofficial ThreeA Legion BST group on Facebook, and I’ve been meaning to take pictures of him since I got back from abroad. I’ve been procrastinating, though, because I haven’t been too happy with how my more dramatic (read: dark) pictures have been turning out. A rather circuitous session of web browsing got me off my butt to experiment with completely manual settings on my camera. Feel free to accompany me on that little journey.
One of my favorite ways to procrastinate is looking for Kickstarter projects to back, and I’m a sucker for projects that involve accessories for my mobile devices and my camera. I’ve been looking at backing a new camera strap system, the Leash and Cuff by Peak Designs. That led me to their previous runaway Kickstarter success, the Capture camera clip system. This led me to a video review of the Capture on YouTube, which eventually led me to a video tutorial explaining the manual settings on a DSLR camera. I set out to give it a try on the Fighting JC.
What’s great about the Auto setting on your camera is also what limits what you can do with it enabled – Auto mode is calibrated to a neutral gray that works with the majority of the pictures people will take. But what Auto isn’t particularly great at is dealing with the extremes. If you are shooting a particularly bright scene, like Snowtroopers on Hoth, the Auto setting will overcompensate and make everything darker than it really looks.
On the flip side, with my initial shot of JC on Auto, it’s tried to brighten everything up because it’s pretty dark. As a result, the picture looks incredibly blown out. So, how do the Manual settings let me fix this? First, let’s go through what the three most important settings are.
Matt Granger (thatnikonguy) starts the explanation in his video tutorial with an analogy – imagine trying to fill a glass with water – except in this case, the water represents the light you want in your picture.
- Aperture (also referred to as f-stop) represents the size of the pipe – the larger the pipe, the more water (or light) flows through it. In your camera, the f-stop setting controls how much the aperture closes when you snap your picture. The higher the f-stop, the more the aperture closes. So a low f-stop, like f-5 on the original picture, means the aperture was fairly wide open, letting in lots of light.
- Shutter speed represents how long you leave the water (or light) flowing – it’s how long you leave the shutter open after you press the shutter-release button. This is measured in (fractions of) seconds. The longer you leave the shutter open, like half a second on the original picture, the more light in your picture.
- ISO represents the water pressure – the stronger the water pressure, the more water (or light) flows through the pipe. The ISO setting controls how sensitive the light sensor in your camera is – the higher the ISO, like 3200 on the original picture, the more light in your picture.
So essentially, even though there are three main settings when you go to Manual mode, you’re primarily just adjusting how much light gets in the shot.
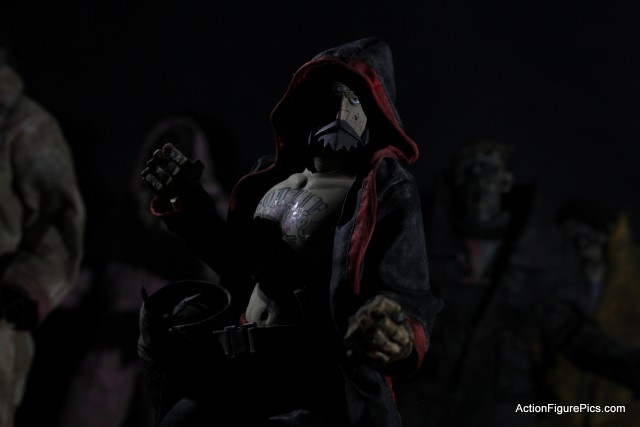
In this WIP that was the basis for the final shot, I’ve done some tweaks with composition (primarily I wanted JC’s fist to have Pinkie’s hood as a halo), but I’ll concentrate in this write-up on the three settings. Remember, I wanted to reduce the amount of light in the shot so it wouldn’t be so blown out. Here’s what I did:
- For aperture, I left it the same, at f-5, just like the original shot. This means the aperture was pretty wide open, letting in lots of light. The other element of the picture that aperture controls is how wide the depth of field is in your shot, or in other words, how much of the rest of the picture besides your subject will be in focus. As your f-stop increases, so does the width of the depth of field. I wanted the Zombs in the background to be out of focus, giving the picture depth, so I wanted the f-stop to remain low. If I increased the f-stop to decrease the light, I would also be bringing those Zombs more into focus.
- For shutter speed, I left it the same at half a second. What you will find with low light situations is that your camera in Auto mode will compensate with slow shutter speeds. With the shutter open for longer periods of time, your pictures will be more susceptible to camera shakes, so normally adjusting your shutter speed to be faster is a good way to cut out light. Since my setup includes a tripod and a remote shutter-release, I didn’t think I had to do this.
- So that left the ISO setting, and in this shot I used ISO 800 versus ISO 3200.
The nice thing about all these Manual settings is that you can easily calculate the impact of your changes on the amount of light using simple math. Since I went from ISO 3200 to ISO 800, that meant I was getting 1/4 the amount of light as in the original picture. I could have gotten the same result by setting the shot at ISO 1600 and the shutter speed to 1/4 of a second (instead of half a second). F-stops work the same way – each f-stop increase on your lens amounts to cutting the light in half. So I could have increased my f-stop from f-5 two stops to f-6.3 and cut the light to 1/4 of the original.
Here’s the final shot again. Simply stated, I set the camera to Manual and cut the amount of light to 1/4 of the original shot I took on Auto. I did this by reducing ISO from 3200 to 800, but could have achieved the same thing by tweaking any of the three settings, individually, or in combination with one another.
I also did some very minimal tweaking of the black level in the shot, cropped it to 16:9, and added some vignetting to the edges of the shot.
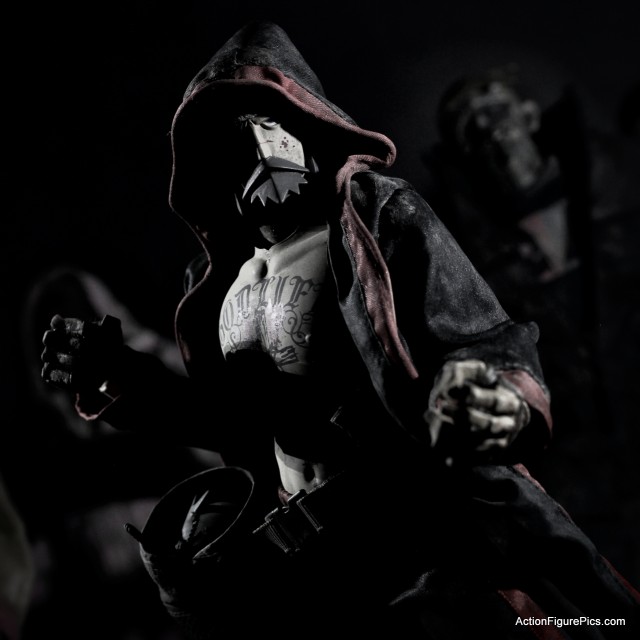
And here’s another of my favorites from the pictures I shot (again showing the pink hoodie halo for JC’s fist). This one was set at f-5, 1/2 second shutter speed, and ISO 640. With the first two settings the same as the other shots but with a lower ISO, you might have expected the picture to be darker (lower ISO means less light, remember?) – but this illustrates that the amount of light getting in your shot is also affected by how much light is being thrown off by stuff in your composition. I shot this picture with the camera in a portrait orientation. JC had the most light on him, and the original shot had more of him in frame. So essentially, the composition was brighter to begin with – I probably could have reduced ISO more or increased shutter speed to make the picture a bit darker.
In post-processing, I also desaturated the picture (hence the muted colors) and added vignetting to the edges.
Hope this helps with your understanding of the Manual setting on your camera. Auto’s a great place to start, but if you can understand how each of three settings impacts the amount of light in your shots, you’ll be able to exercise a lot more control over the final results by going Manual, especially with very bright or very dark compositions.


